Synology is a home lab’s best friend in my opinion. There is so much you can do with it. Well you don’t have to believe me just go google Synology stuff and I can guarantee your weekend will be lost for any other activities other than tech.
Sometimes I just want to use my Synology to store stuff. I accumulate a ton of photos, documents, iso’s you name on my home laptops and in the past I have forced myself with a heavy heart to go through and press the delete button in order to free up space.
That all changed when I got my Synology NAS and now with a clear conscience I just cut and paste. Being a backup administrator I can’t simply leave it at that and always create backup of my files.
Today I am going to setup a Veeam Unstructured Backup job to backup my NFS share. There are a lot of blogs out there with instructions showing you how easy it is to setup share on Synology here at the KB site https://kb.synology.com/en-us.
ADD THE DATA SOURCE
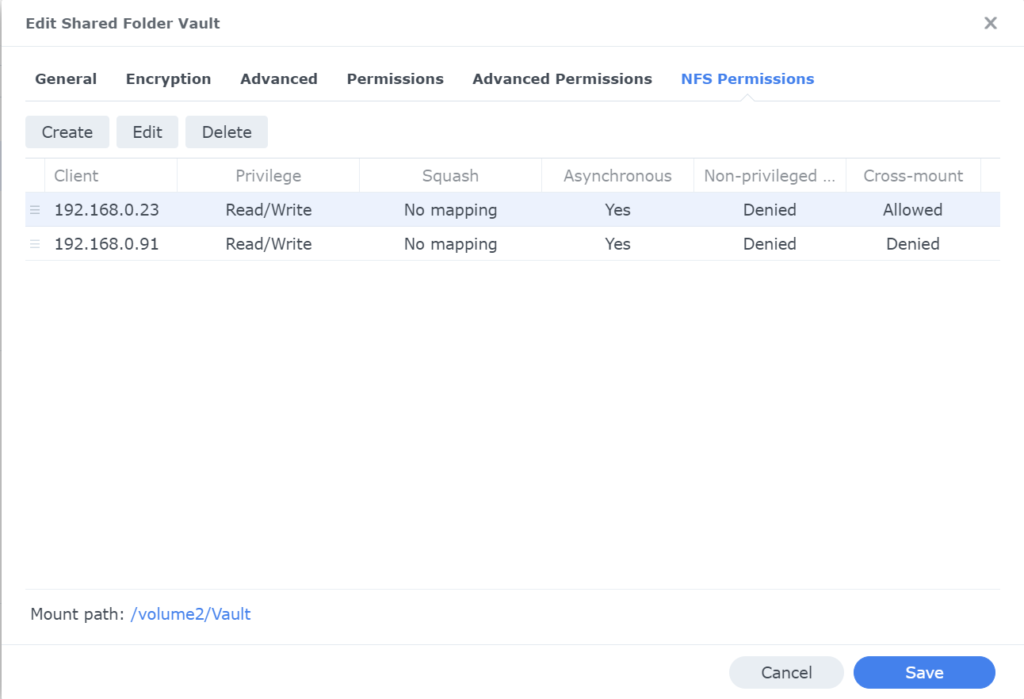
First I am going to add my VBR server’s IP to the NFS permissions of my share in Synology NFS, I will also note down the mount path in the lower left hand corner:
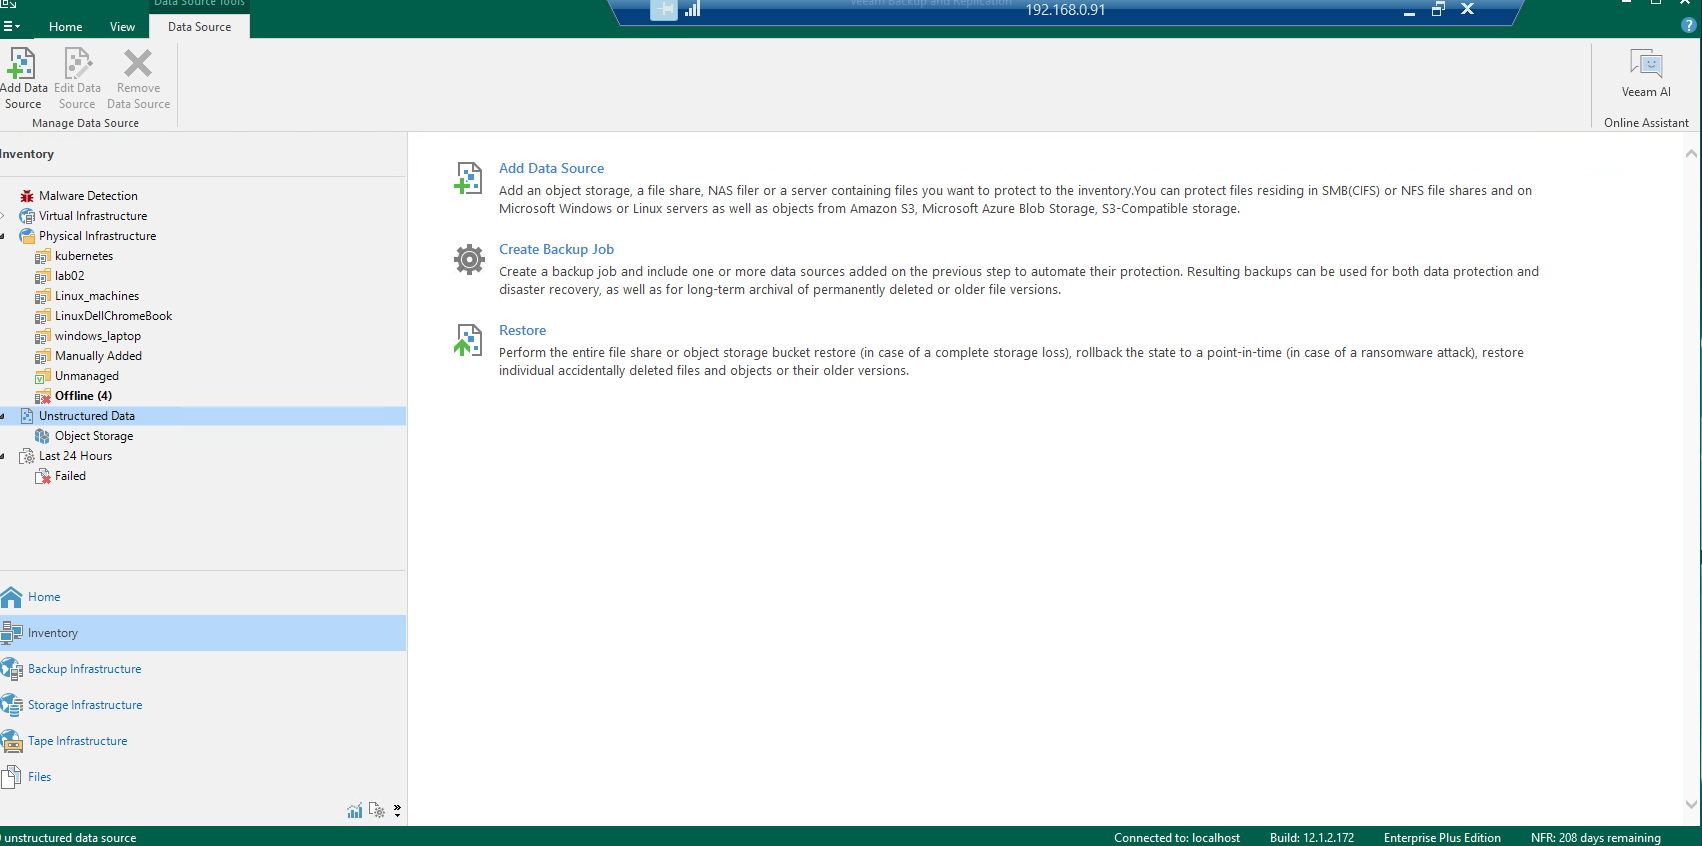
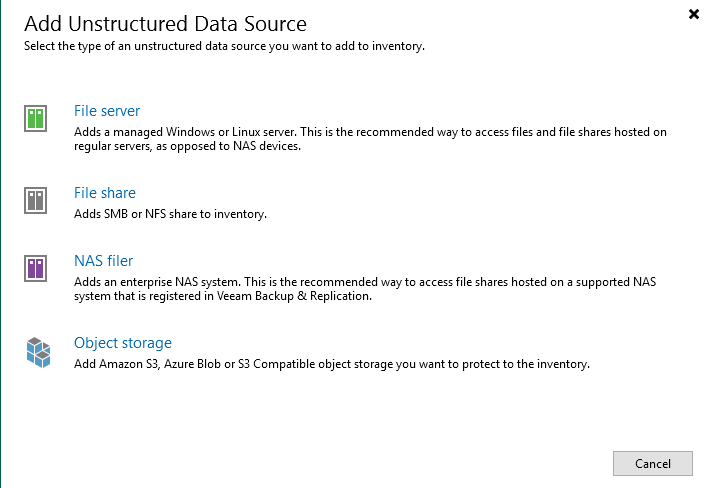
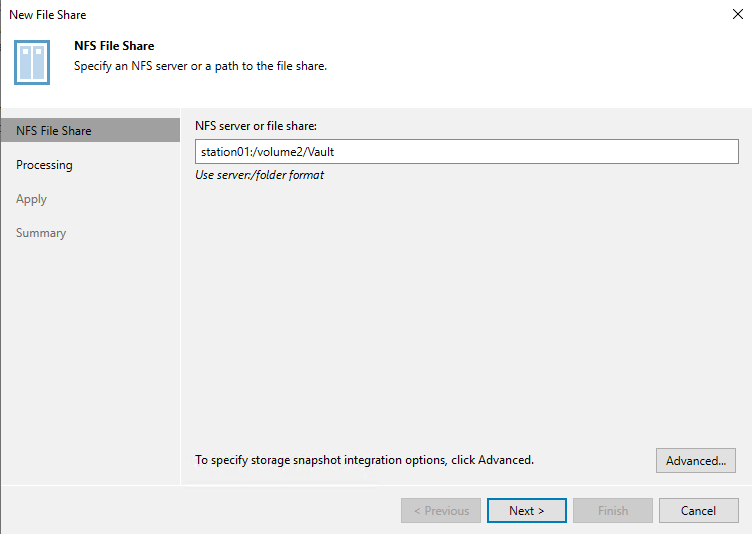
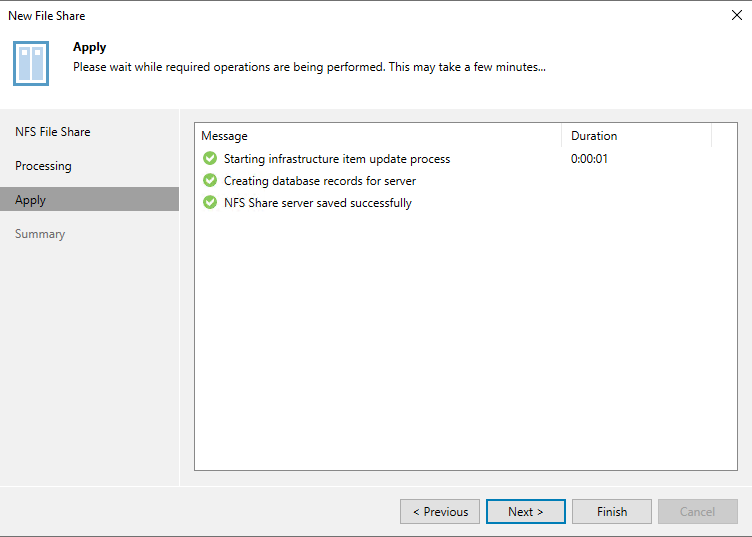
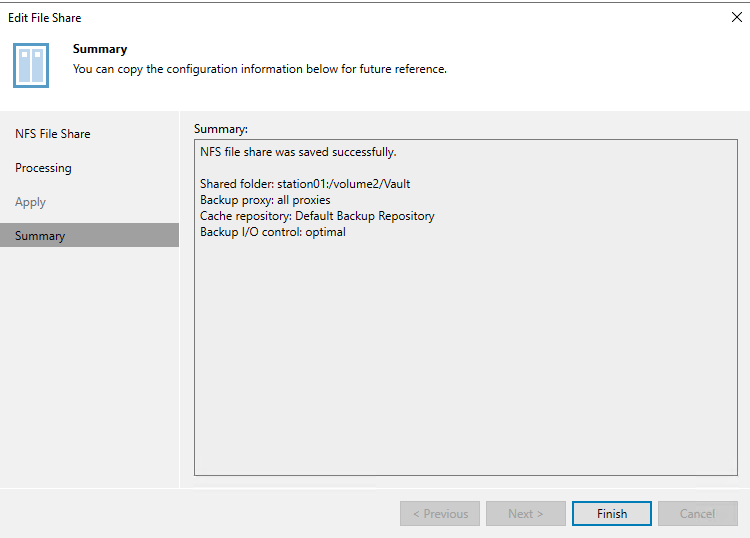
Back in VBR we first have to add the unstructured Data Source:

Creating a Veeam Unstructured Backup Job
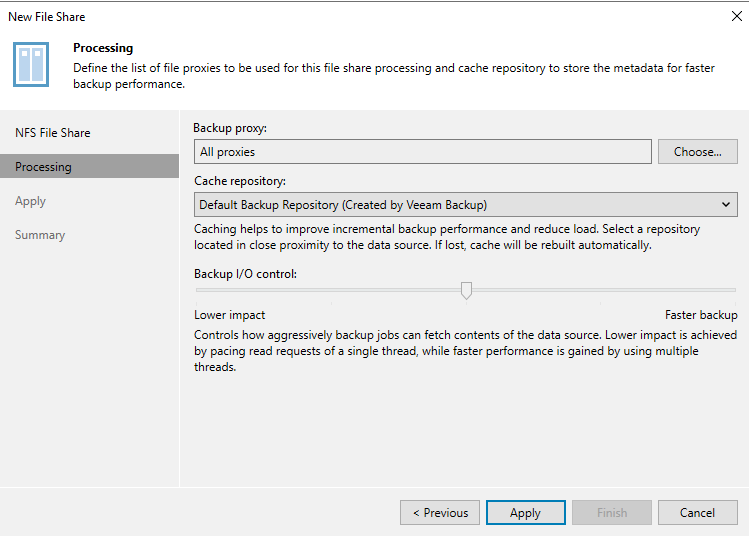
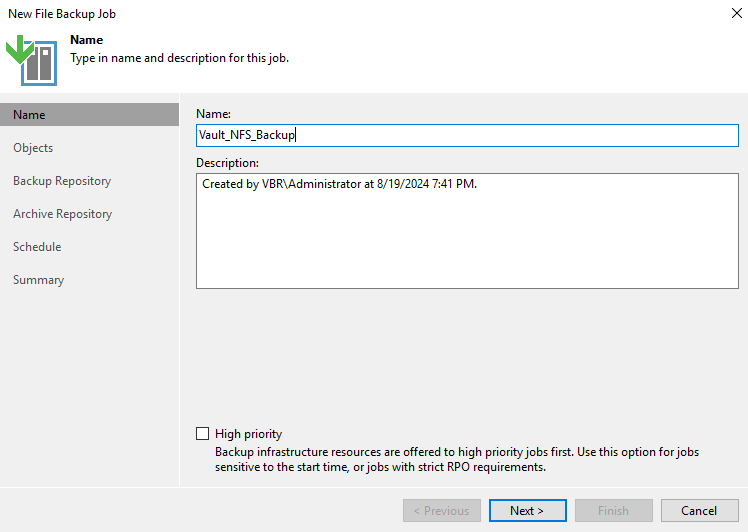
Now that we have added our NFS share we can create a backup job. We can do so from various locations but for simplicity sake we will do so from the same page as the add data source:


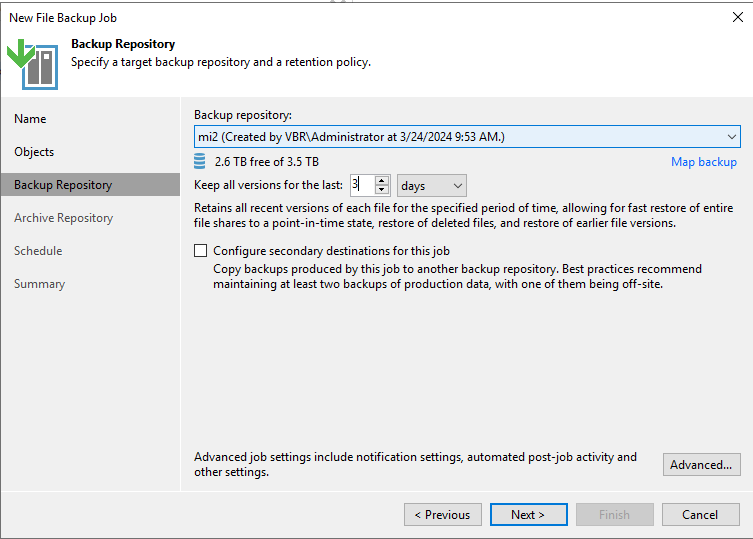
Common sense would have it that you don’t backup your Synology to your Synology so we will point this somewhere else. That does not mean that I am not using my Synology as a backup target for other pieces in my lab, more to come about that in a future blog.
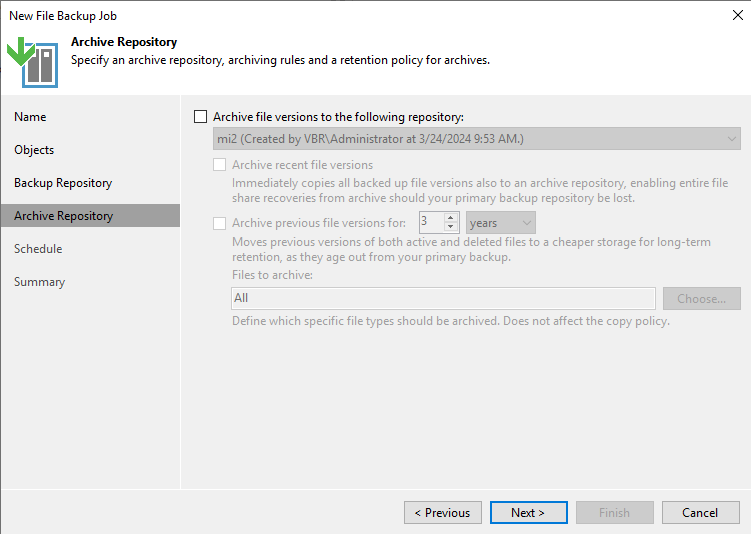
We are not going to archive anything
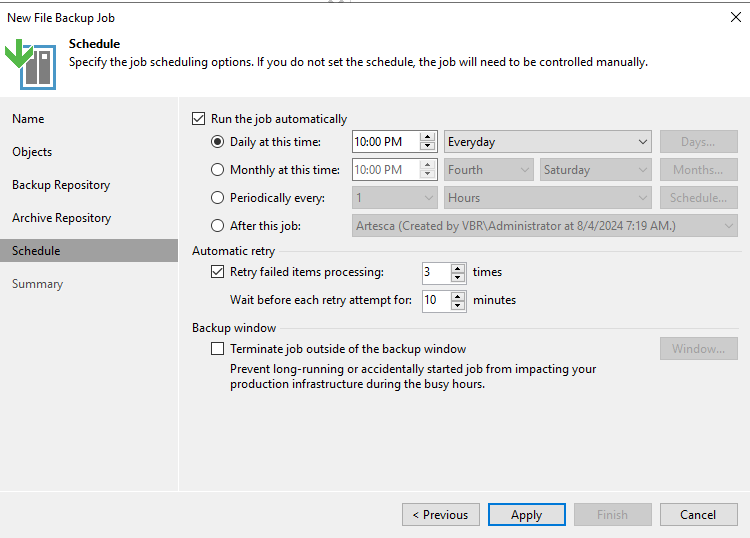
We can let this run daily at 10:00PM
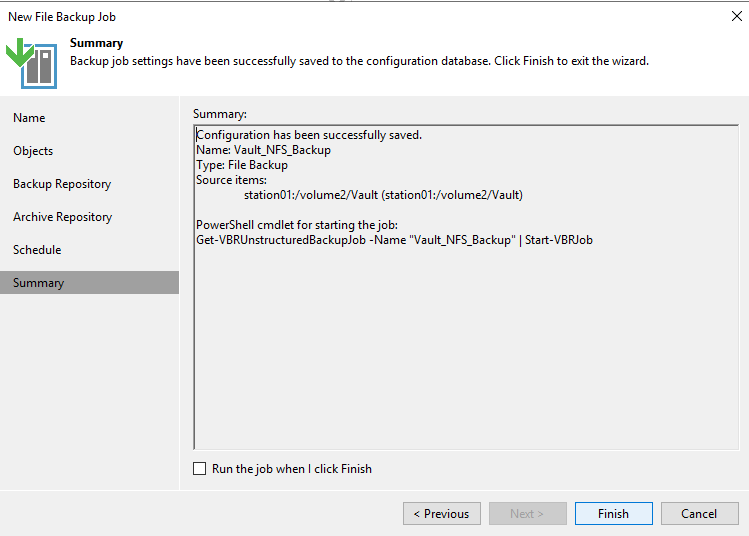
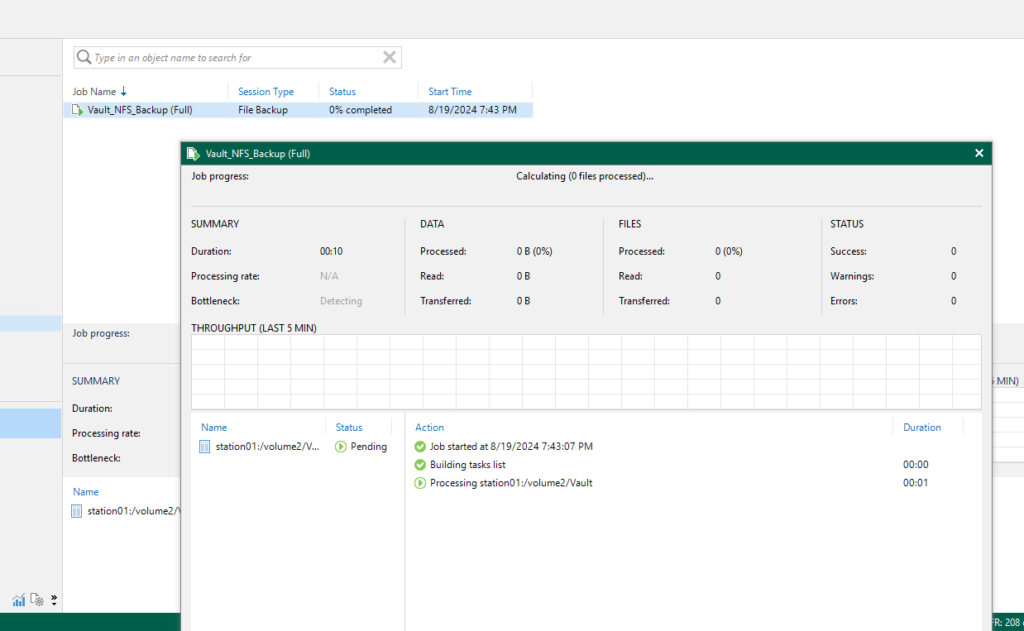
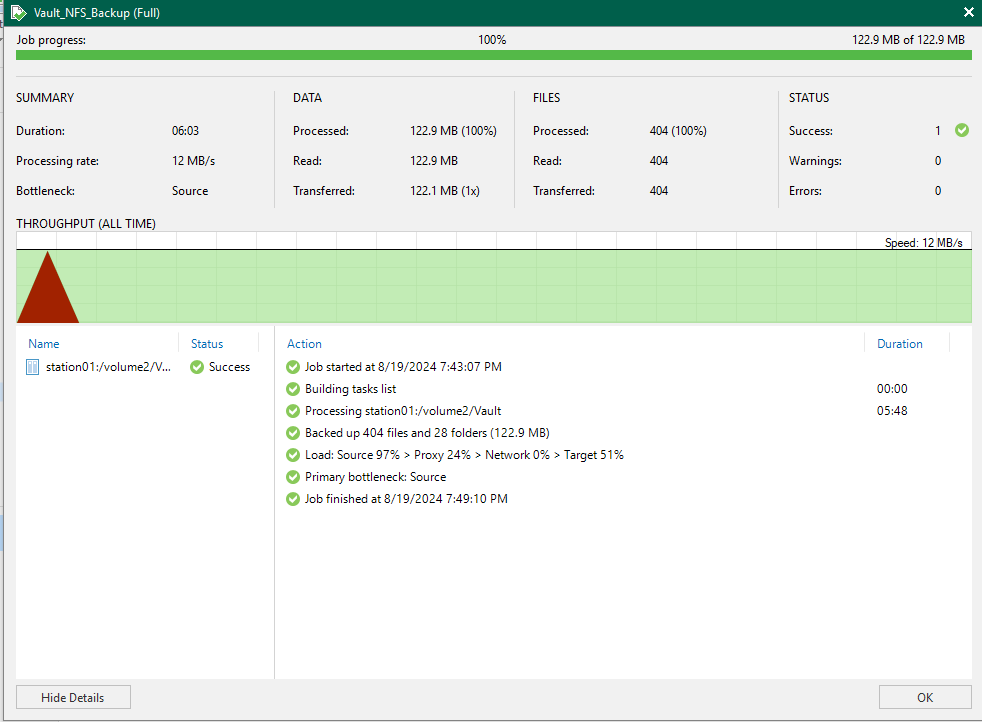
The Job is done so let’s give it a run:
Testing the Unstructured Data Instant Recovery Feature in Veeam
One of the best Veeam features is its ability to perform instant recoveries. Unstructured Data is no exception so why don’t do an instant recovery on the file share that we just backed up:
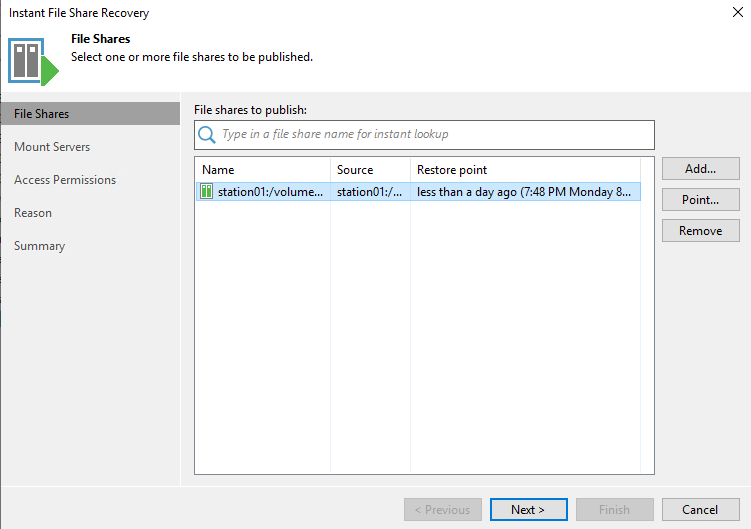
We can right click on the backup that we just performed and click Instant file share recovery


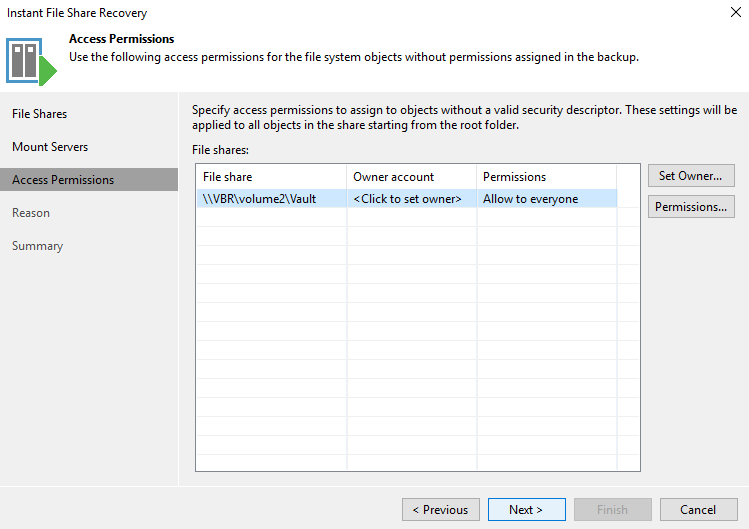
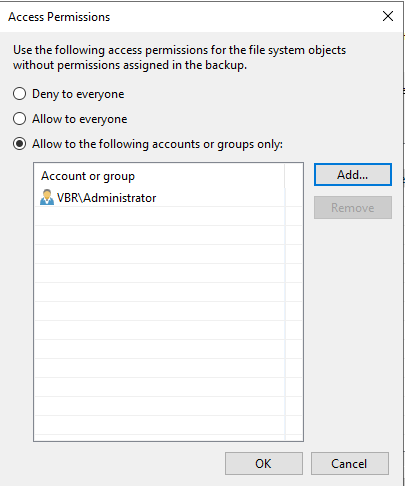
You can change the access permissions and we will only allow Administrators in for this test:
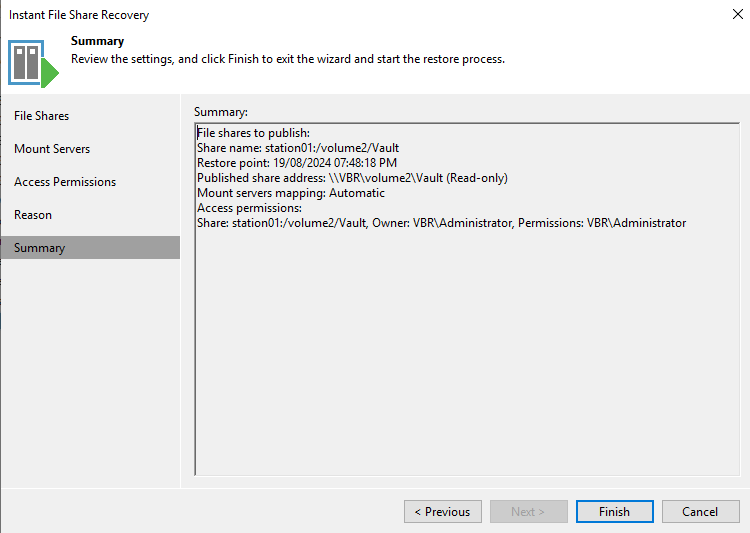
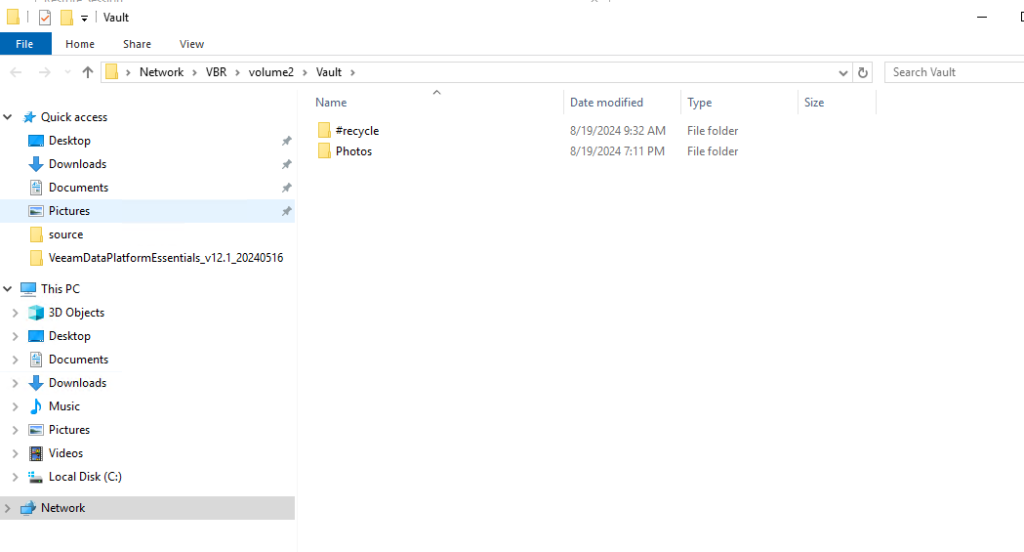
In a blink of an eye we will be able to access our file share from the backup by simply pressing Open file share in the lower left hand corner:
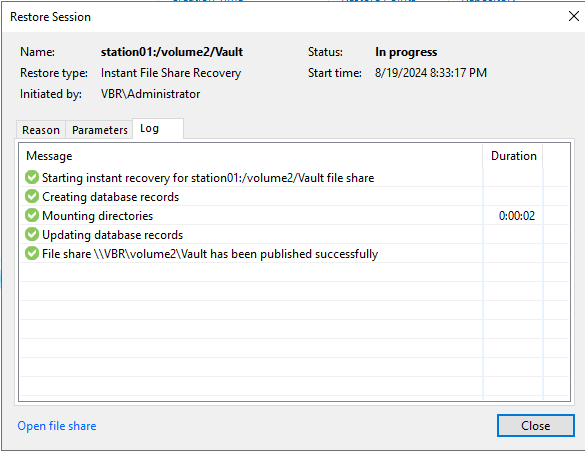
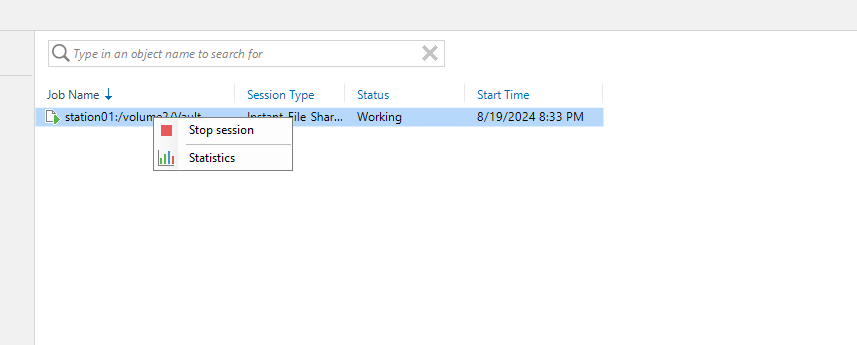
Remember to always finish the instant recovery and in this case we will just cancel it by pressing the Stop session button:
Conclusion
Having a Synology in the home lab is a huge help when it comes to storing files that otherwise you may have been forced to delete for lack of space. However, you still need to back those files up and Veeam makes that task very simple.
Stay tuned next time when we make Synology the target of my home lab backups!