In this second part of the blog series we are going to install K3S on all of our VMs. We will also leverage the Synology CSI driver and test it out at the end.
Firstly, we want to be able to connect to all 3 VMs seamlessly from my Windows Ubuntu WSL on my laptop.
We can use this method to push our public key on to the VMs.
Create a file called server.list with the IP addresses of the 3 VMs.
vi server.list
192.168.0.80

192.168.0.81

192.168.0.82

...Code language: CSS (css)
Next run this script to copy your public key onto the VMs.
#!/bin/bash

while IFS= read -r server; do

ssh-copy-id -i ~/.ssh/id_rsa.pub "$server"

done < servers.listCode language: JavaScript (javascript)
INSTALLING K3S
We are going to disable the default servicelb loadbalancer and Traefik ingress controller and use Metallb instead. Also it is a good idea to disable local storage. I actually forgot this in my setup so later on I describe what you can do so that the default K3S local storage-path storageclass does not stay set at the one used by default. If you run the command as below you won’t have this problem.
curl -sfL https://get.k3s.io | K3S_KUBECONFIG_MODE="644" INSTALL_K3S_EXEC="server" sh -s - --disable=servicelb –disable=traefik --disable local-storageCode language: JavaScript (javascript)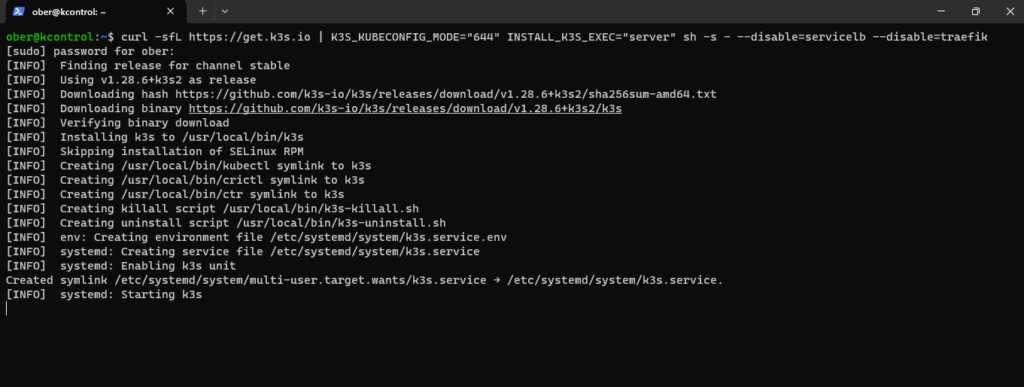

We will also setup a alias for kubectl and enable autocompletion
source <(kubectl completion bash)

echo "source <(kubectl completion bash)" >> ~/.bashrcCode language: PHP (php)
Edit your bash.rc file and add these to lines.
alias k=kubectl
complete -o default -F __start_kubectl k
We can now check to see if our control plane is ready
k get nodesCode language: JavaScript (javascript)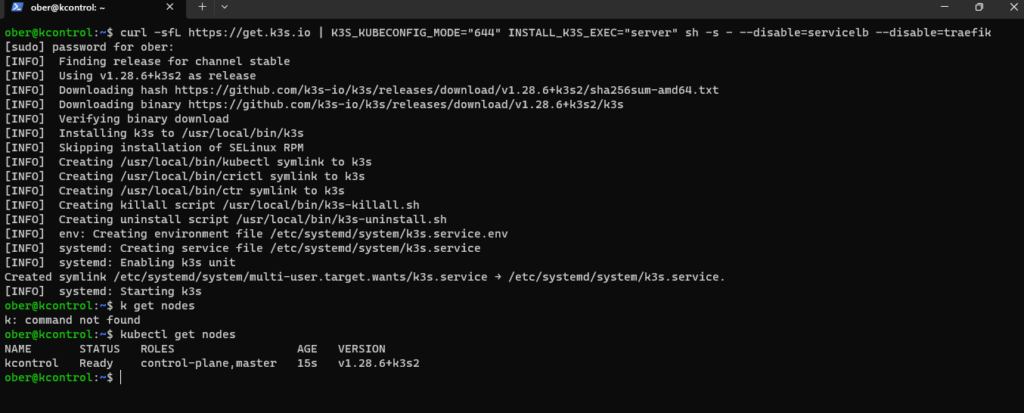

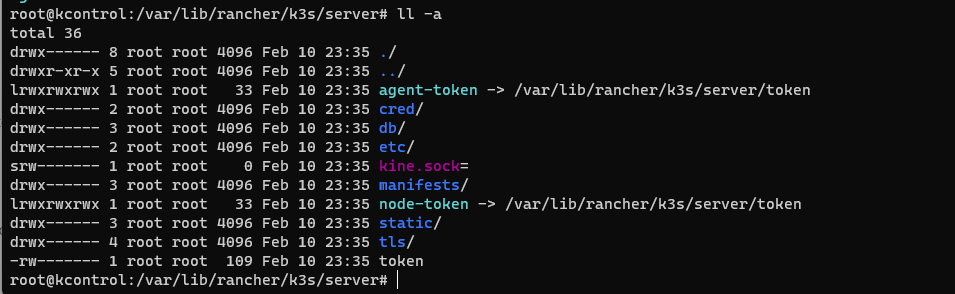
Next, we want to add our worker nodes, replace the kcontrol hostame with your control plane VM’s hostname if you have used a different one and use the token value that you can find in your /var/lib/rancher/k3s/server/token file

curl -sfL https://get.k3s.io | K3S_URL=https://kcontrol:6443 K3S_TOKEN=K10175ffa8bd8abd10d7cb789412bc96b1f545b753af499ad09147ae1d7e3beca14::server:9f1bb3013619a6f12c3371d9e0ba5c06 sh -Code language: JavaScript (javascript)Do this in both worker node VMs.
After waiting a few minutes check to see if both worker nodes now also appear.


Next we will install the Mettalb loadbalancer
kubectl apply -f https://raw.githubusercontent.com/metallb/metallb/v0.13.12/config/manifests/metallb-native.yamlCode language: JavaScript (javascript)Use an the appropriate IP range for you lab and make sure that you have put them on your DHCP reserved list.
kubectl apply -f - <<EOF

apiVersion: metallb.io/v1beta1

kind: IPAddressPool

metadata:

  name: first-pool

  namespace: metallb-system

spec:

  addresses:

  - 192.168.0.240-192.168.0.250

EOF
kubectl apply -f - <<EOF
apiVersion: metallb.io/v1beta1
kind: L2Advertisement
metadata:
name: example
namespace: metallb-system
EOFCode language: PHP (php)SYNOLOGY CSI INSTALL
The synology plugin will be built on the fly so we need to install docker in order for the script work.
Also make sure make is installed.
sudo apt install makesudo snap install docker
sudo groupadd docker
sudo usermod -aG docker $USERCode language: PHP (php)You may also need to play with your permissions
sudo chown -R your_username:docker /var/run/docker.sock

sudo chmod 660 /var/run/docker.sockCode language: JavaScript (javascript)
We will also install the external-snapshoter so that we can later on leverage Kasten to backup our work.
git clone https://github.com/kubernetes-csi/external-snapshotter.gitCode language: PHP (php)cd external-snapshotter/
kubectl kustomize client/config/crd | kubectl create -f -
kubectl -n kube-system kustomize deploy/kubernetes/snapshot-controller | kubectl create -f -
./scripts/deploy.sh runNext clone the Synology open-source csi driver repository.
git clone https://github.com/SynologyOpenSource/synology-csi.gitCode language: PHP (php) cd synology-csiCopy the client-info-template.yml file. cp config/client-info-template.yml config/client-info.yml
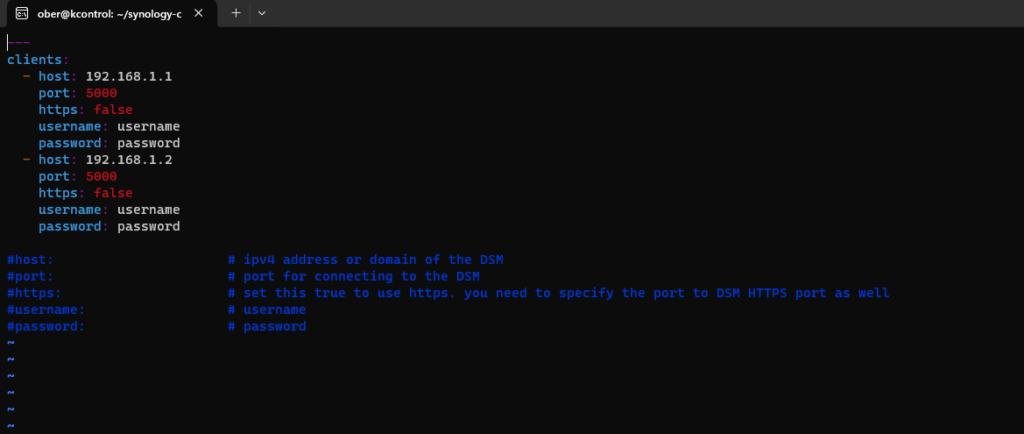
Edit config/client-info.yml to configure the connection information for DSM.
We can now run the deployment script.
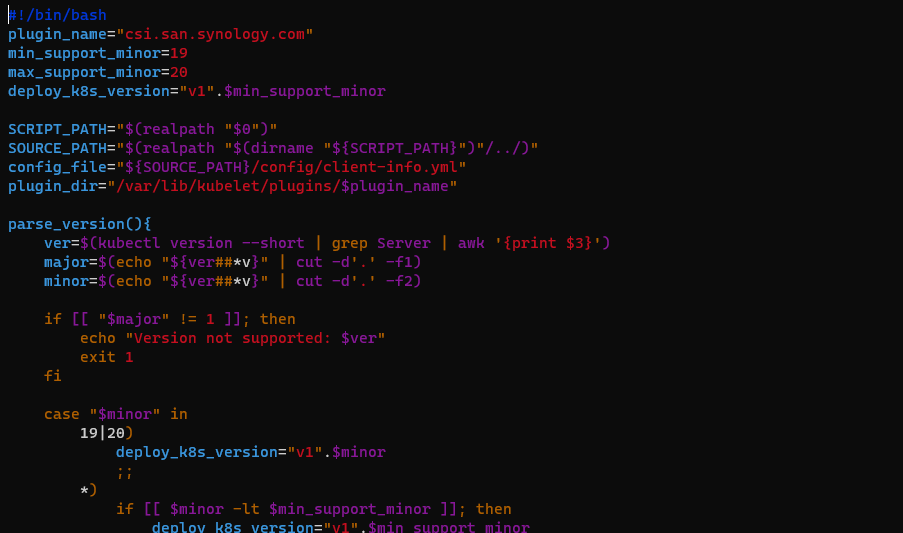
One thing to note, I had to change the script and remove the “–short” from the kubectl version –short | grep Server | awk ‘{print $3}’ part.

In the synology-csi folder run the script
./scripts/deploy.sh run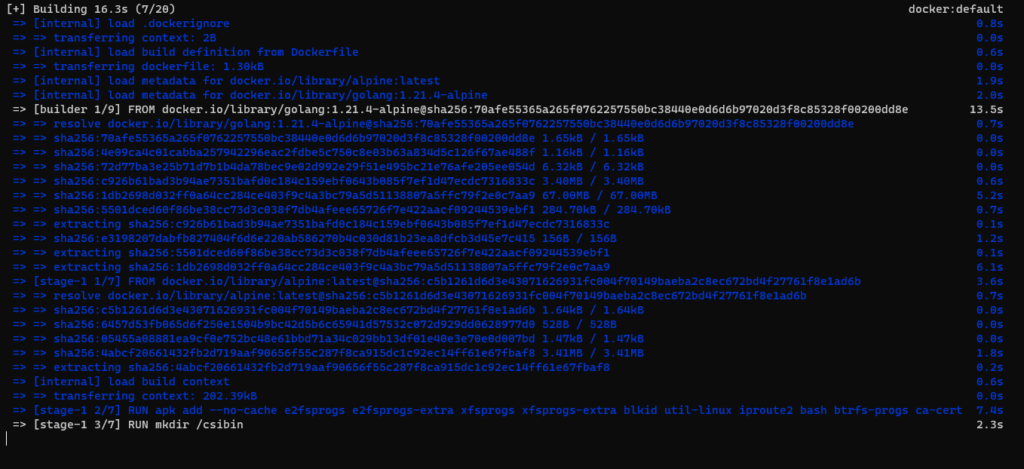

Once the script completes, we should now have a new storageclass and volumesnapshotclass.


If you did not disable the K3S the local-path storage provisioner then we can do that now.
First let’s make the synology-iscsi-storage storageclass the default one
k patch storageclass synology-iscsi-storage -p '{"metadata": {"annotations":{"storageclass.kubernetes.io/is-default-class":"true"}}}'Code language: JavaScript (javascript)Next add an empty skip file in the K3S manifests at /var/lib/rancher/k3s/server/manifests
sudo touch /var/lib/rancher/k3s/server/manifests/local-storage.yaml.skipCode language: JavaScript (javascript)

Now only our synology-iscsi-storage will be default.


Time to Test!
kubectl apply -f - <<EOF
apiVersion: v1
kind: Namespace
metadata:
name: nginx
---
apiVersion: v1
kind: PersistentVolumeClaim
metadata:
name: task-pv-claim
namespace: nginx
spec:
#storageClassName: csi-hostpath-sc
accessModes:
- ReadWriteOnce
resources:
requests:
storage: 1Gi
---
apiVersion: v1
kind: Pod
metadata:
name: task-pv-pod
namespace: nginx
spec:
volumes:
- name: task-pv-storage
persistentVolumeClaim:
claimName: task-pv-claim
containers:
- name: task-pv-container
image: nginx
ports:
- containerPort: 80
name: "http-server"
volumeMounts:
- mountPath: "/usr/share/nginx/html"
name: task-pv-storage
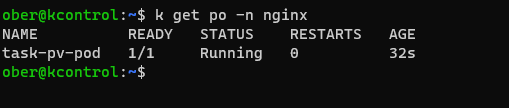
EOFCode language: PHP (php)You should see the following in your K3S cluster:


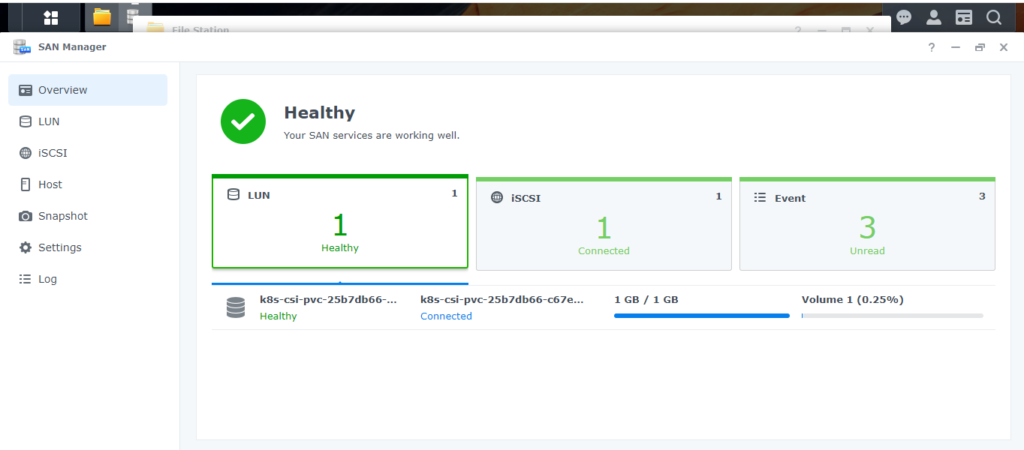
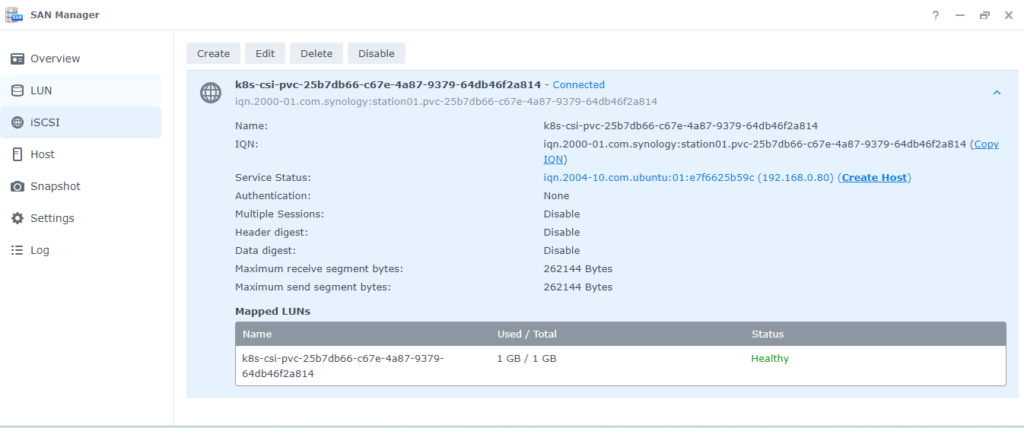
Going back to our Synology open up the SAN Manager and you will see our PVC listed.


That’s it. In a future post we will leverage Kasten to back all of this up and restore it.