The latest VMware saga and the discontinuation of ESX free version has many people searching for possible home lab alternatives.
When it comes to learning Kubernetes, you can always use single node clusters but there are times when you want to expand your setup to resemble production with multiple nodes. Of course, you can leverage projects like Kind (Kubernetes in Docker) or K3D (K3S nodes in Docker containers) but they come with limitations and put limits on how much you can do.
My home lab is always in a state of perpetual evolution and the latest addition to my home lab a Synology DS 723+ has added a much needed boost to productivity!
My new Synology is small in size, and its versatility makes it ideal for home labs. There are a lot of blogs out there about Synology and the all the fantastic things that you can do with it in your home, but I want to focus on how to engage it specifically with Kubernetes.
In the following two posts I am going setup K3S Kubernetes cluster leveraging my existing Proxmox server which resides on a powerful old workstation with this Synology to give my lab the boost that it has been waiting for.
The Synology will be leveraged as a local DNS server and for storage by taking advantage of the open-source Synology CSI plugin for Kubernetes.
PART 1 DNS SETUP and UBUNTU SERVER INSTALL
We are going to install Ubuntu 22.04 server on the K3S VMs and give them static IP addresses. Make certain to create reservations in your DHCP server for these addresses.
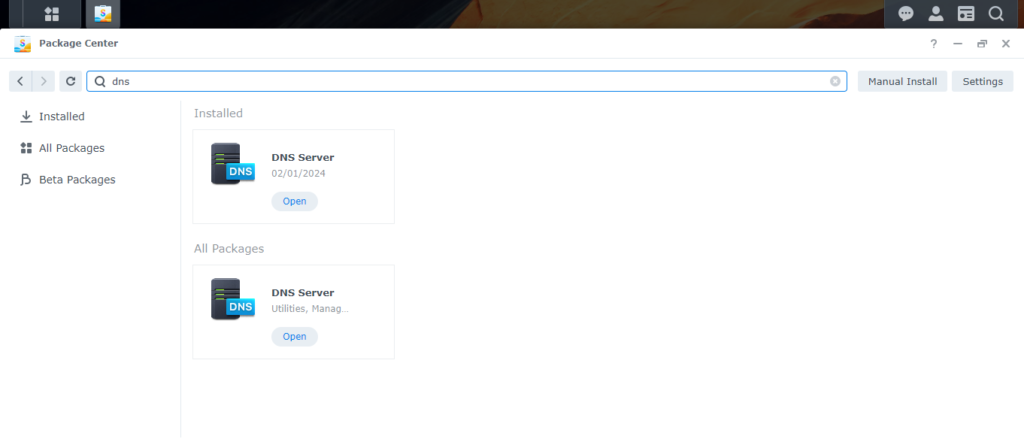
Open your Synology Station web page and install the DNS from the Package Center if you have not already.

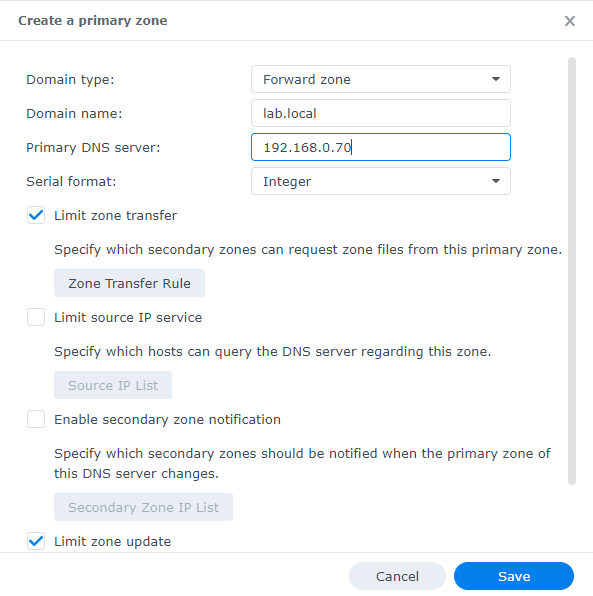
Next create a primary zone, I am going use the name lab.local

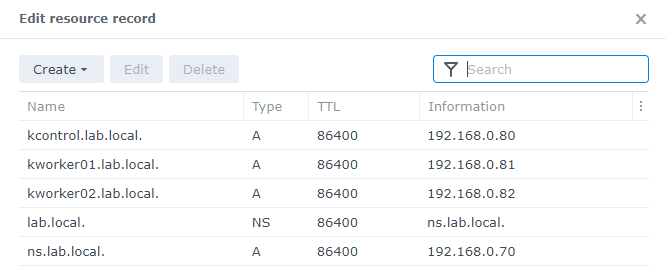
Double click on your newly created zone and add the A records for the K3S VMs that will be created

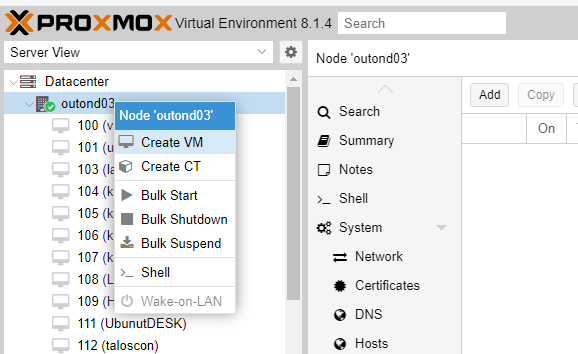
Time to head over to the Proxmox Server and create the VMs:
If you have installed Ubuntu before feel free to skip this next section or zip through it quickly.
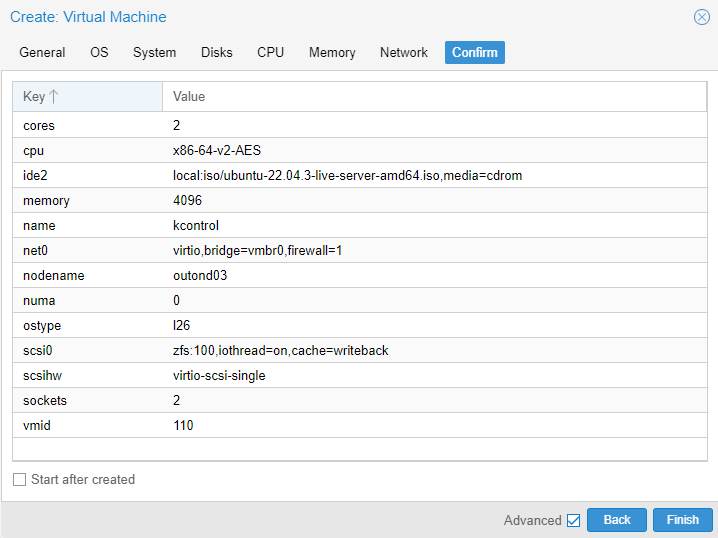
You can vary the settings for the VMs:

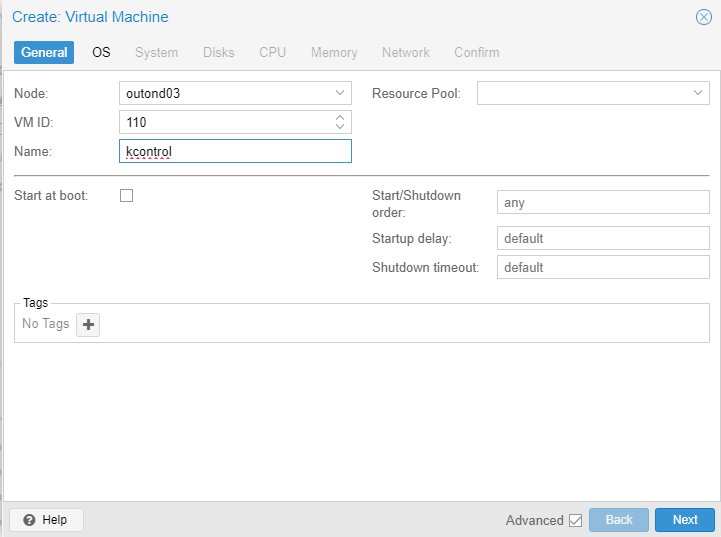
The Proxmox VM name will be the same as the host name.

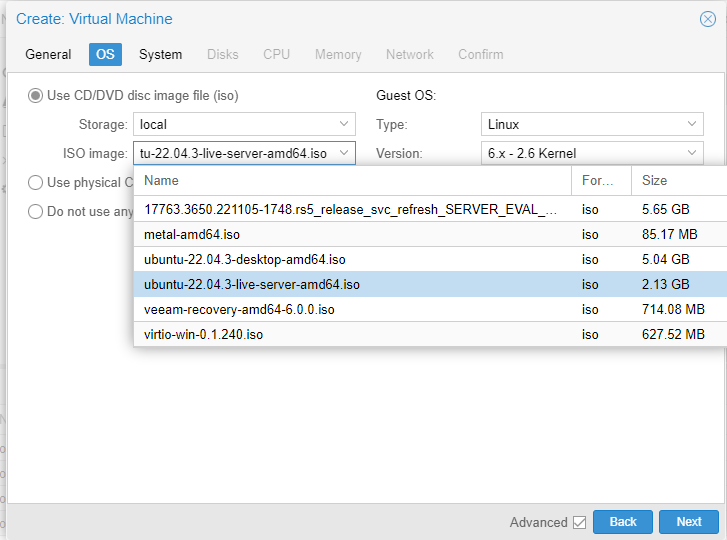
The experience of loading the ISO is similar to VMware and Hyper-V

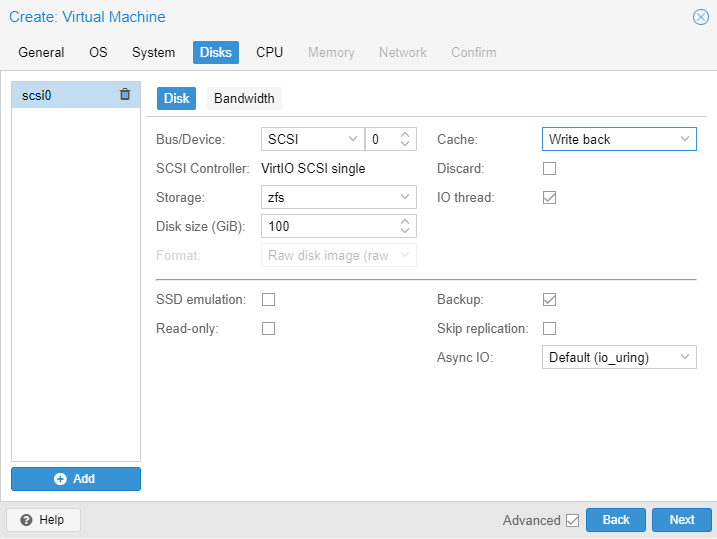
I am giving it 100GB and turning on write back.

I would recommend at least 2 cores for CPU.
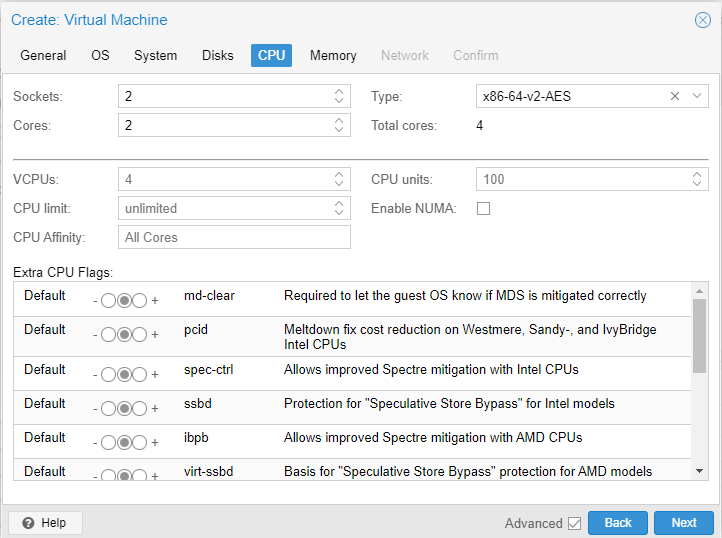

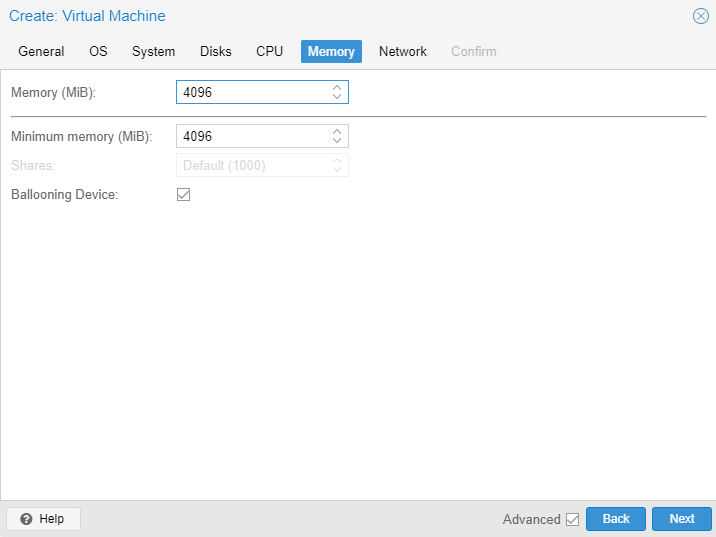
For memory I like to give the Control Plane node at least 4GB, whereas the workers can have 2GB if spare memory is an issue.

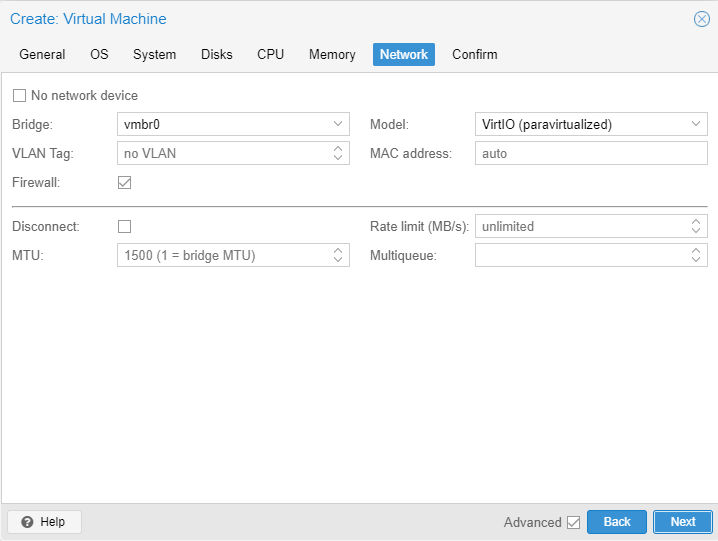
Leave the network settings as default.

All ready to go.

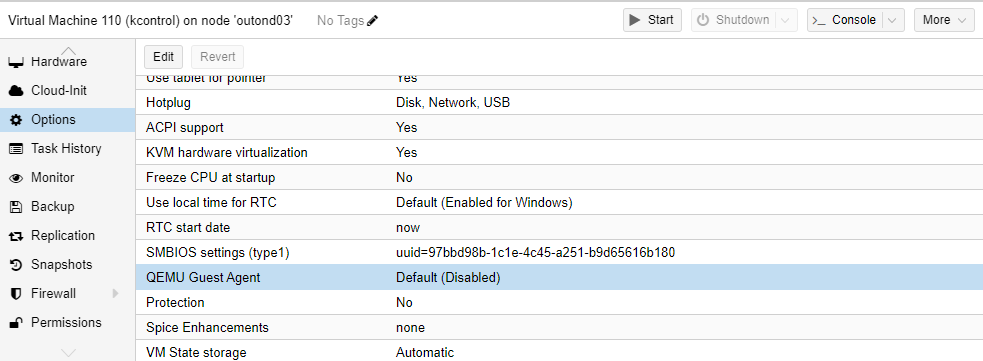
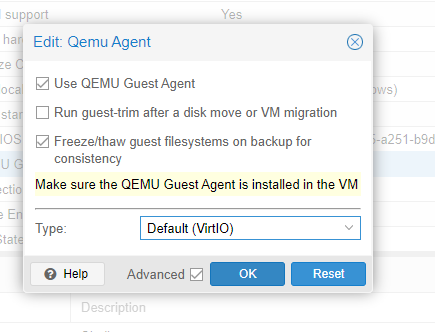
I also recommend installing the qemu guest agent which we will do after we have the OS up and running.
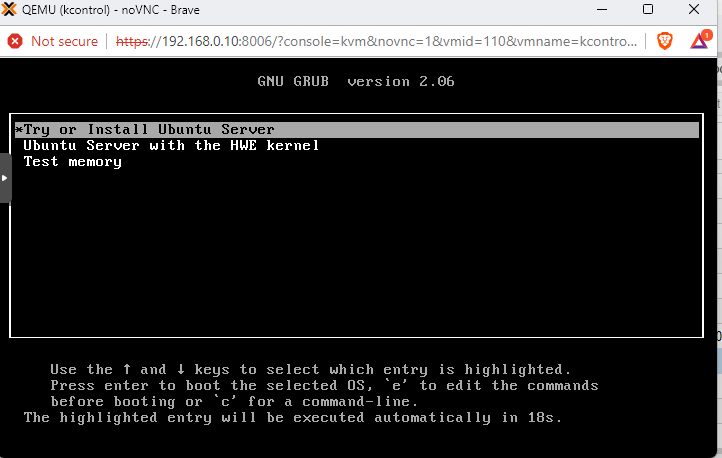
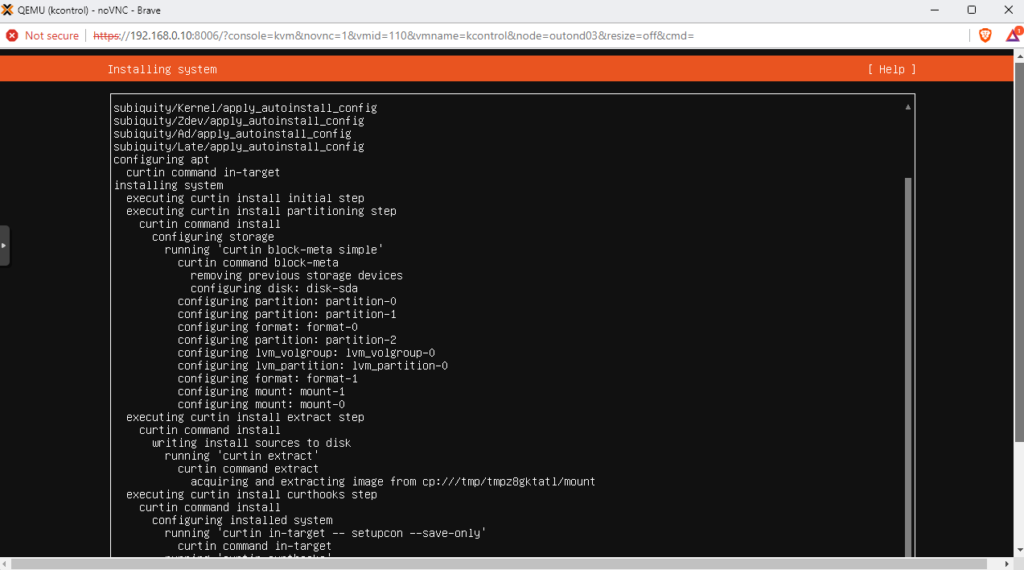
Next we boot and run through a normal Ubuntu server installation:

This next part is quite straight forward but I will document each step just in case for clarity.

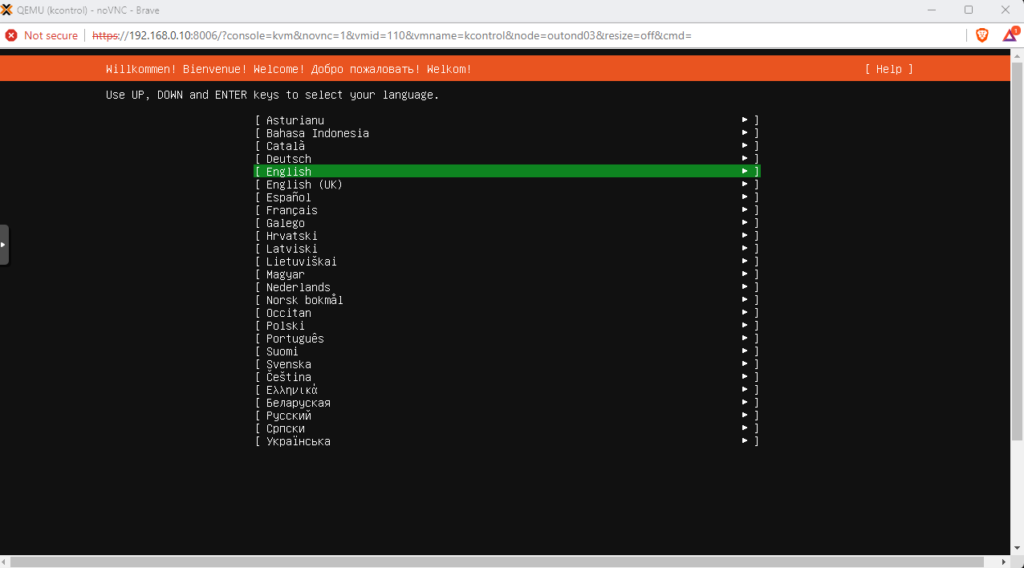
Choose your preferred language.

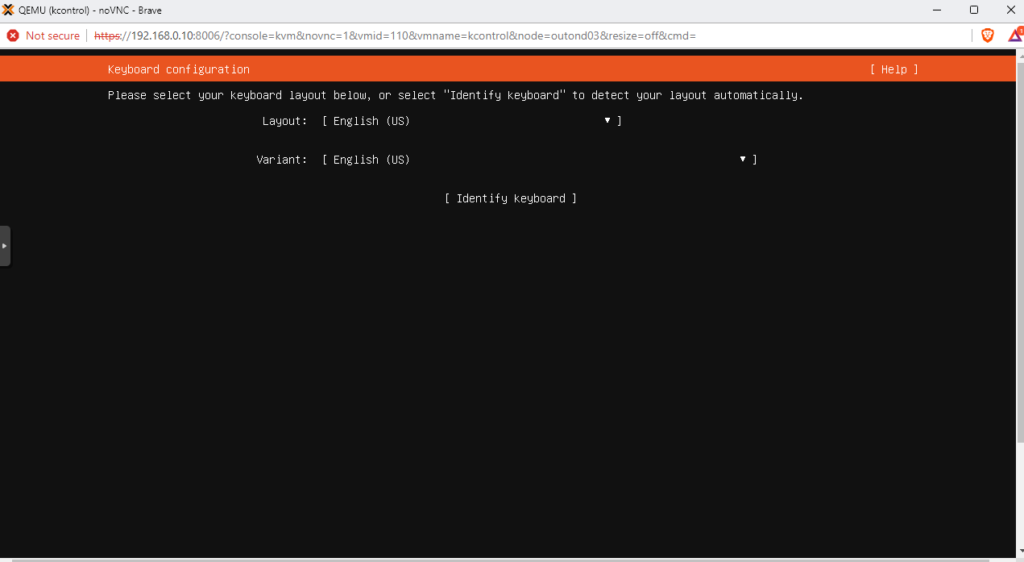
Keyboard is next.

We only need the base installation.


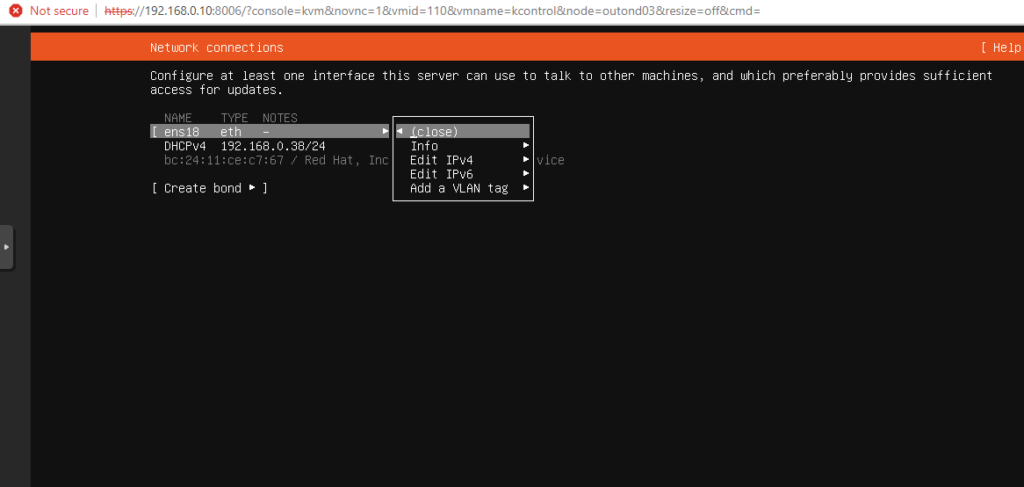
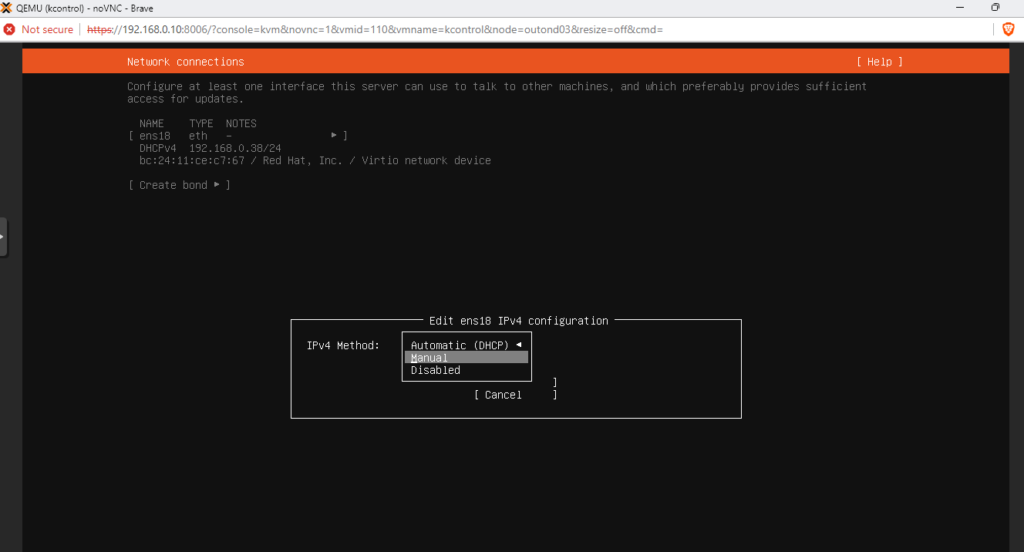
Change the network settings to the static ip address for the VM.


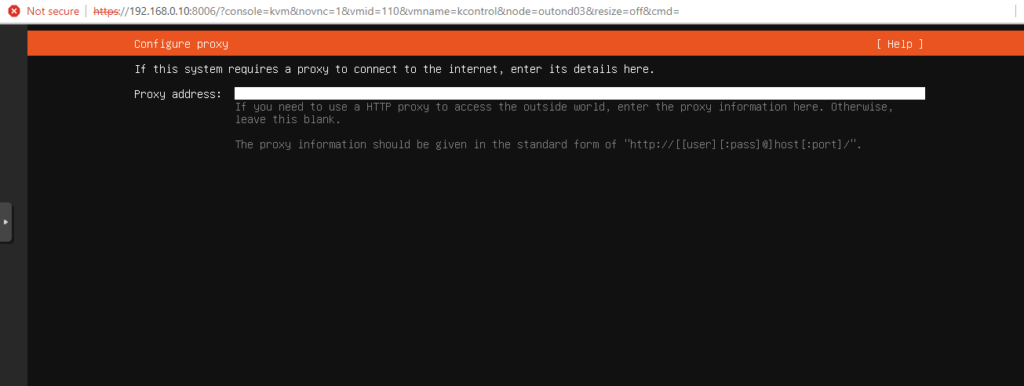
I don’t have a proxy in my environment.

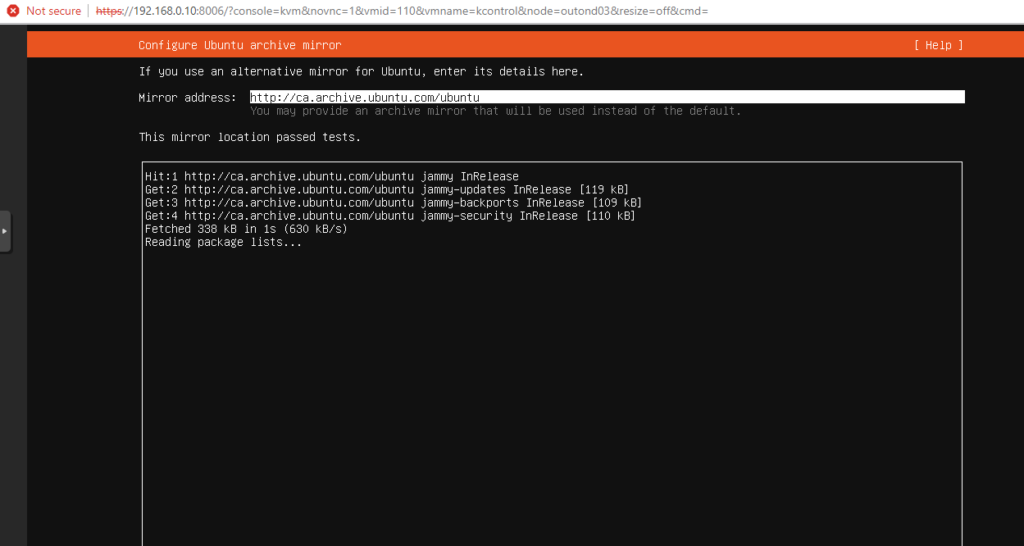
Configure the Ubuntu update server and archive mirror.

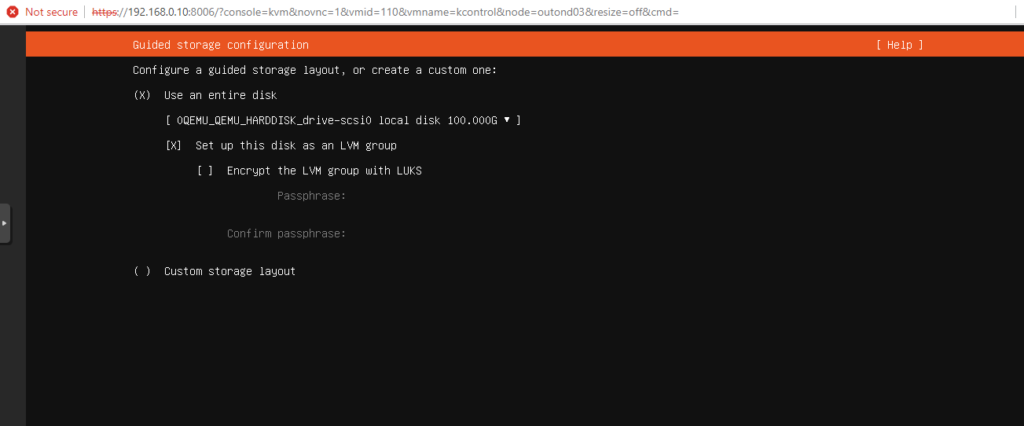
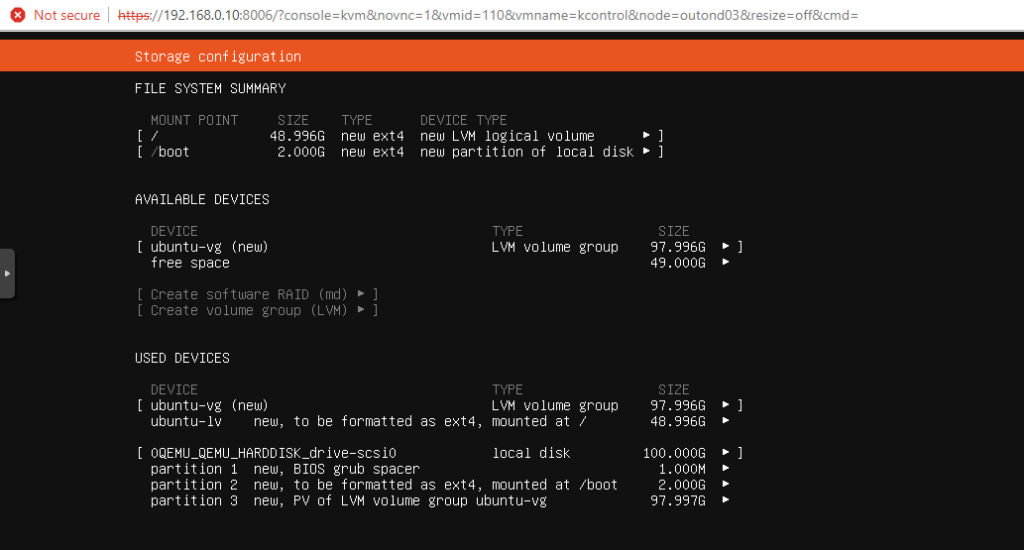
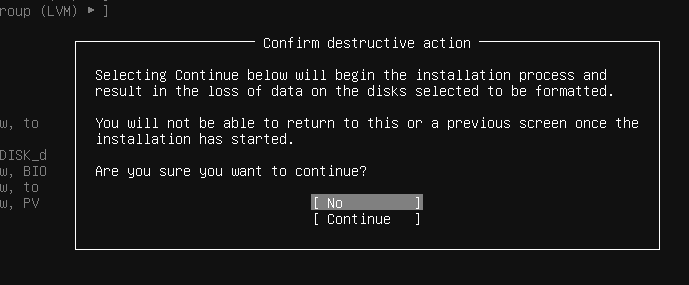
I am going to leave the default settings for the disk.


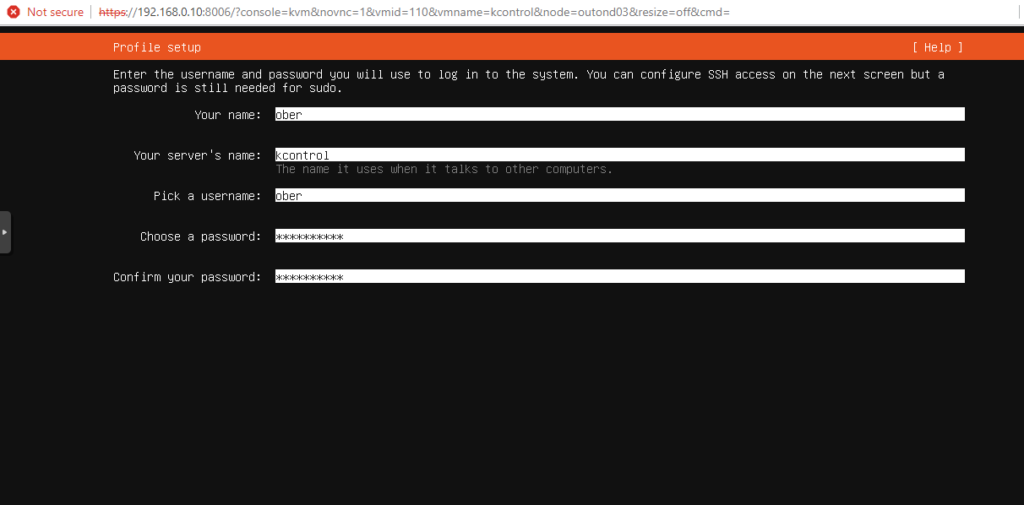
Now input the default username and your server name which will be the hostname.

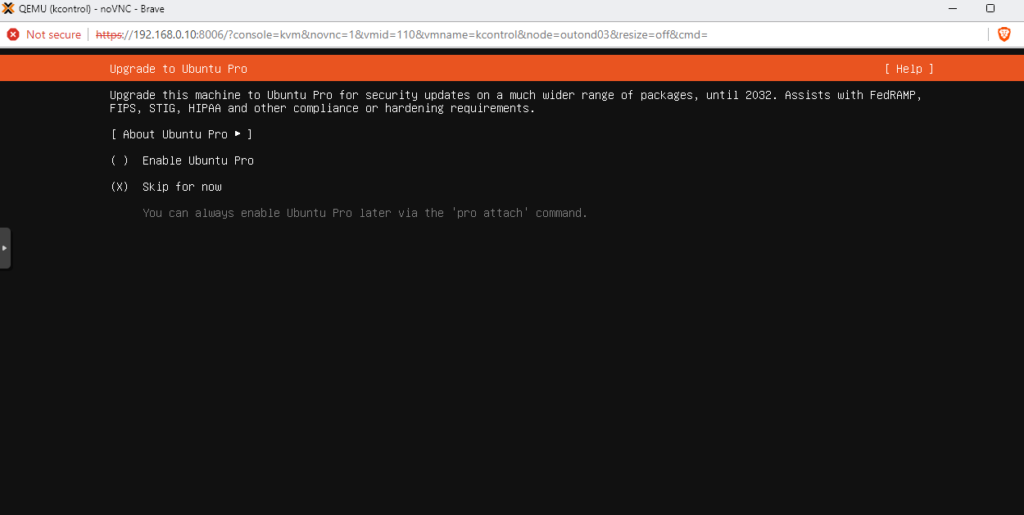
Skip Ubuntu Pro.

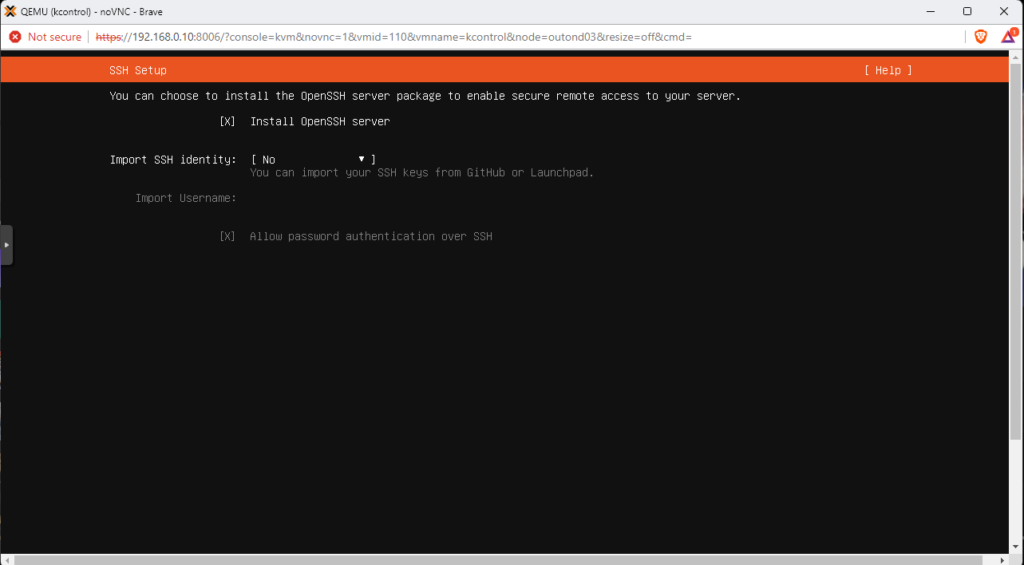
Enable the install OpenSSH server.

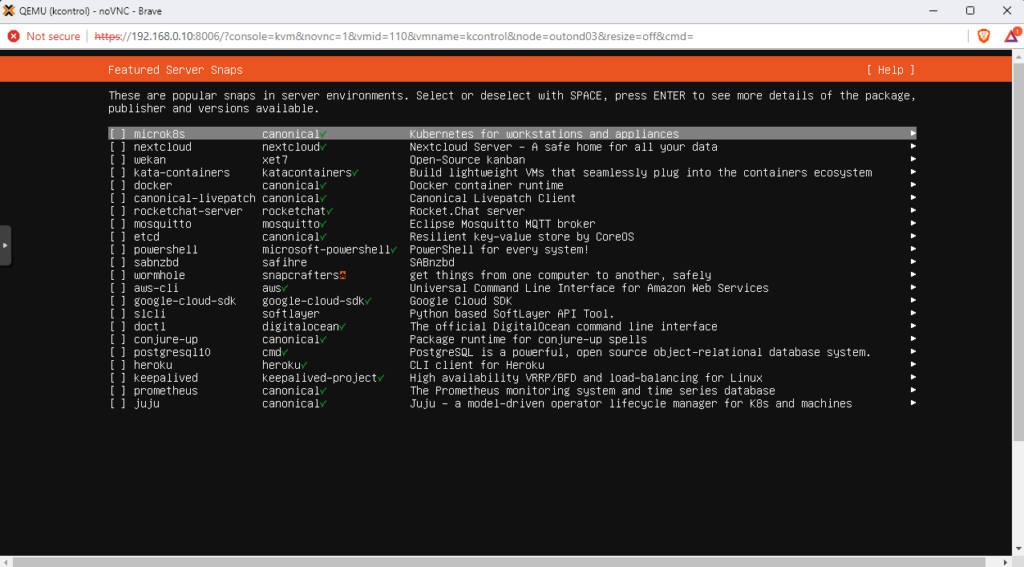
We are not going to install anything extra at this point.


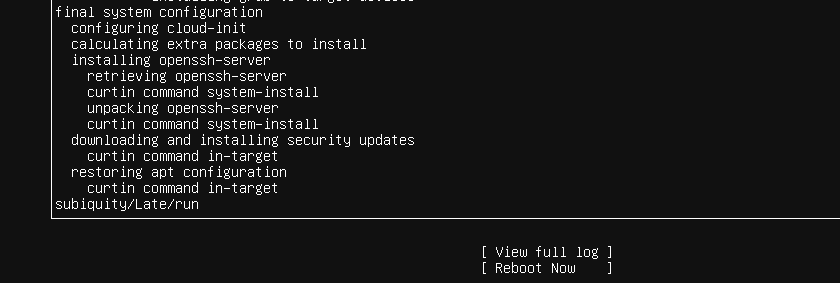

All done time to reboot
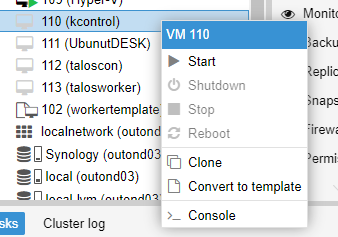
Create two other VMs with the names kworker01 and kworker02. Give them the static IP addresses that you made in your DHCP reservation and that you created the DNS records for.
You could also create an Ubuntu VM template if you think you might be creating VMs like this on a regular basis.
Once you have the other 2 VMs ready I recommend installing the Qemu agent. This is similar to VMware tools or Hyper-V integration.
sudo apt install qemu-guest-agentThen enable the agent in the options in the settings for each VM


Ok Now we are done with Part one!
Stay tuned for part two where we install K3S and rev up the Synology CSI Plugin!